Overview: This article is intended to provide an overview of the Shifts Tab in the Facilities module. You will learn the purpose of each section as well as the sequential steps for their use.
- The Shifts Tab can be used to view, add, or edit shifts.
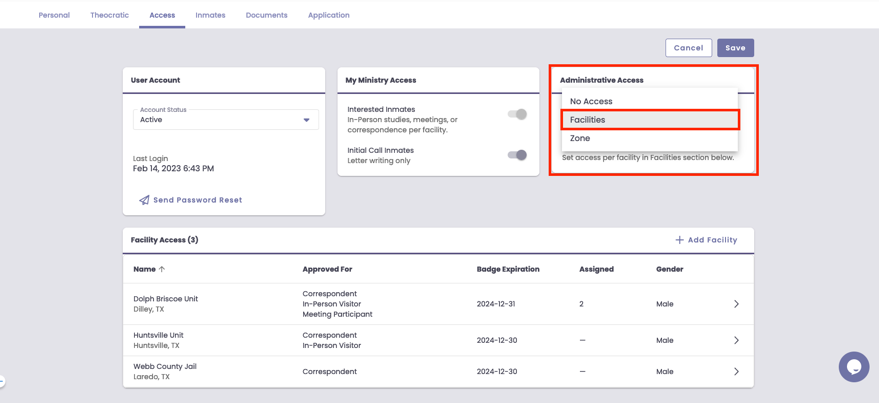
Type of System Access: A minimum Access Level of Facilities is needed to follow these steps.
To Add or View Existing Shifts
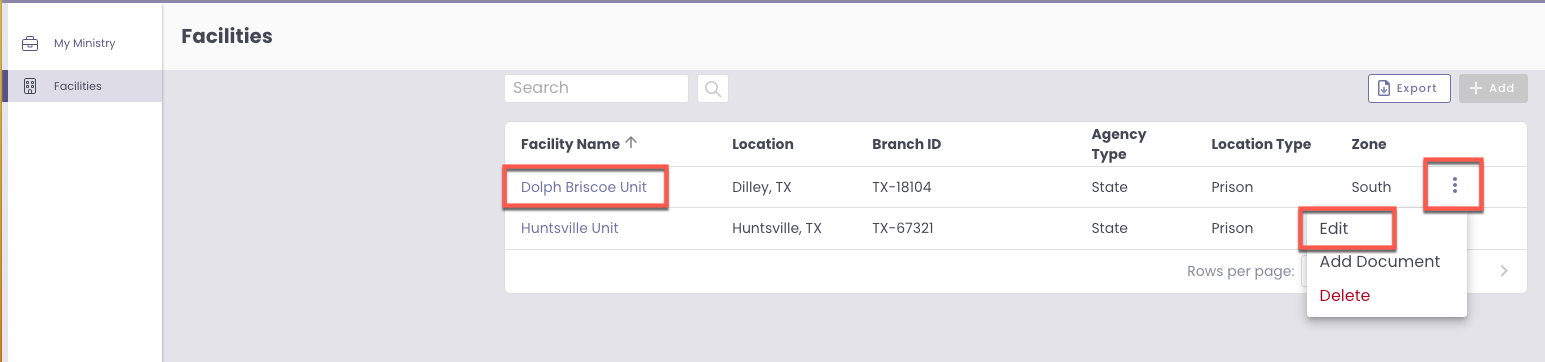
Step 1 From your My Ministry Landing Page, select Facilities from the Navigation Panel.

Step 2 To open the desired Facility, click on the Facility Name or the ellipsis, then Edit.
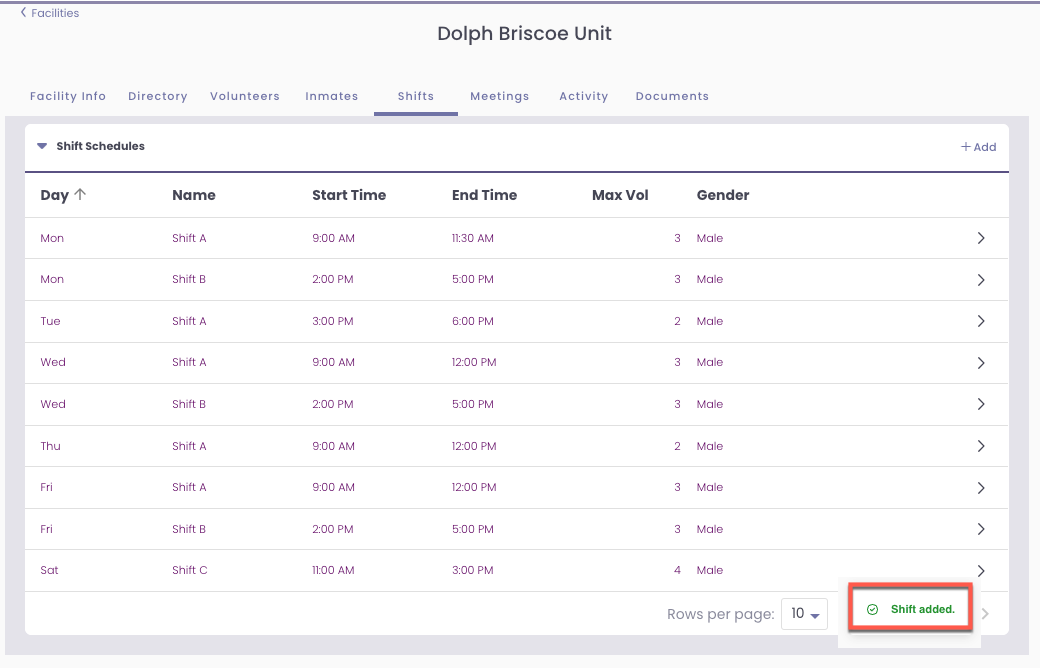
Step 3 Click the Shifts Tab to add or view existing shifts.

Step 4 To view or edit an existing shift, click in the Row of the specific Shift or click the right Chevron at the end of the row.

Step 5 The Edit Shift drawer will open on the right of your screen. Here, you can view/edit the shift details. Should you edit any available fields or add Notes, click Save.

Step 6 To add a shift, click the +Add button.
- Note: Shifts may not overlap in time. Shifts must be scheduled a minimum of 1 minute apart.

Step 7 The Add Shift drawer will open to the right of the screen. Select from the dropdown the Gender, Max Vol (maximum volunteers), shift Name, shift Day, and any Notes for the shift.
- To enter the Start Time and End Time, click in the field. A clock dial will appear.
- Click the hour field at the top and rotate the arm to the appropriate Start/End Time hour.
- Click the minute field at the top and rotate the arm to the appropriate Start/End Time minute.
- Select AM or PM.


Step 8 Click Save.
- Note: You will receive an error validation message if you try to create an existing shift or if the shift overlaps with another.

Step 9 You will be returned to the Shift Schedules screen. A confirmation of the added shift will briefly display in the bottom right corner. Continue to add additional shifts if required.
Last Update: August 7, 2023